
For many players the Gunlance represents the pinnacle of Monster Hunter gameplay. You’ve all seen the videos – these are grizzled, hardened veterans of the series that have done their time with the spinning, transforming and slashing weapons, and have thoroughly determined that the apex of loot carving involves reducing your target to rubble through a combination of both slamming and exploding them. This is Hyperbole of course, after all there’s much more to Gunlance than those two frankly excellent benefits… Alright so there isn’t actually that much more, but it’s certainly a weapon that requires a great degree of mastery, often being even less maneuverable than it’s non-explodey brethren, the Lance. Theoretically it plays very similarly, but thanks to it’s restricted melee abilities and reliance on longer animations, you’re often forced to take an ever greater risk, all in the pursuit of those sweet explosions. It’s also not the easiest to understand it’s myriad of models; is it worth taking a status or elemental option for example, and should you gravitate towards a particular type – Normal, Long or Wide? Whilst we can’t help you master this most complex of crafts, we can surely help to point you in the right direction for early models that might help to tip the balance in your favour.
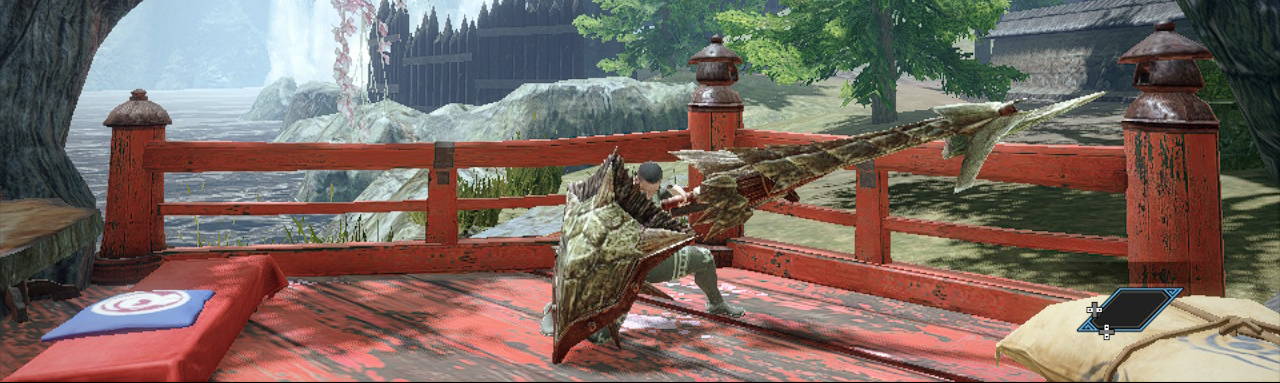
Princess Panoply
More so than almost any other weapon in Monster Hunter, you’re not going to immediately be able to replicate that which you have seen. With other weapons you can at the very least replicate a small portion of what the ‘experts’ do in a video, but this is much harder to do with the Lance duo, mainly because they require you to sit in front of your target’s face in order to achieve anything. The reason why we make note of this is that whilst you’re learning at least, it’s likely that you’re going to be taking a significant amount of time to take down your target, leading to a method of hunting we like to call ‘attrition’. This essentially involves dealing small but regular amounts of damage, mostly through thrusts, as you learn both the target and your new piece of equipment. Happily the oft forgotten part of this deal is that you have a massive shield and thus a reasonable defence, but why not lean into the situation and use a model that functions alongside said attrition?
Enter the Princess Panoply, a Poison Gunlance made by using Rathian parts. It’s a model that we’ve actually recommended across multiple Monster Hunter titles now, and for good reason: It’s ability to inflict Poison damage allows the budding hunter to deal a continuous stream of damage whilst they learn this complex new weapon. Rise in particular features a version that comes equipped with everything a new player needs; reasonable raw damage, Normal type shelling with level 2 shells and a huge amount of green sharpness! With Poison on top of this, it’s an ideal weapon to get your hands on in the early game!
Early Features
- Poison damage is ideally suited for a slower, learning period with the Gunlance.
- Huge amount of green sharpness means you’ll be stopping to sharpen less often.
- Raw damage isn’t huge, but good enough.
- Normal Type shells mean you’ll have plenty of ammo with which to practice shelling. Incidentally this is also a type that will do great damage with the full burst, something you’ll certainly want to get used to!
- The Poison Boost Rampage Skill is useful if you want to increase its potency.
Crafting Requirements
- Kamura Gunlance III
- Rathian Shell x 3
- Rathian Spike x 2
- Poison Sac x 2
Thankfully this is quite an easy model to craft. You’ll likely get plenty of the Shells during the course of one or two Rathian hunts, and the Spike should be a fairly frequent carve, though if you’re struggling then breaking it’s back is the best bet to increase your chances. The Poison Sac is a rather strange inclusion, since it cannot be obtained through Rathian alone, however going a few rounds with Great Wroggi is likely to net you plenty of these.
Advertisement

Kadachi Striker
Whilst we have detailed our favourite ‘attrition’ method in our first entry, we’re fully aware that this will not keep you satisfied for a great deal of time. No doubt you have learned how to jab and move enough to feel like you’re ready for a change, or at the very least your curiosity has been piqued with regards to different shell types and their usage. Next up then is the Kadachi Striker, otherwise known as the Gunlance from an old World favourite Tobi-Kadachi. This does mean that you’re going to have to take on the electrified panther multiple times, which is a task often considered quite difficult for new players, but the rewards are most certainly worth it. Not just because of this particular model either – most of the equipment, armour included, is useful from this particular monster, so it’s worth taking some time to get acquainted.
To the subject at hand then, and the Kadachi Striker is an excellent early gunlance example. On the surface it may seem quite similar to the Princess Panoply, since it shares the same raw damage value and also has a reasonable amount of green sharpness, however it differs by featuring the Thunder element and 15% Affinity. This last point is no doubt going to cause some consternation, since Affinity has no influence on the damage done by shells since they cannot crit, however it’s worth noting that in the early game at least there is more to it than just explosions. Yes, experts at their craft will no doubt be able to slam and burst their target into oblivion, however to do this is to completely ignore the powerful Lance side of the equation. This particular model also uses the Long type of shell, which equates to slightly less ammo but a longer range, favouring a ‘thrust and burn’ style of approach where the shells are used at the end of normal Lance combos, hence the Affinity being of use. They’re not necessarily as good at this as the Wide type, but better than Normal in this regard, and function as an ‘in between’ for three types.
Early Features
- Good early raw damage & sharpness, akin to our prior choice.
- Features 15% Affinity, favouring a poke style of hunting.
- Long Type shells also favour this approach, thanks to their increased range, however they will also do reasonably well with the full burst approach.
- Comes with the Thunder element – not as broken as in previous iterations (World), but still very useful against a lot of the monster population.
- Good upgrade options in High Rank that come with a level 2 slot.
Crafting Requirements
- Baggi Glance I
- Tobi-Kadachi Electrode x 2
- Tobi-Kadachi Scale x 3
- Tobi-Kadachi Pelt x 3
Things aren’t too bad here. You’ll likely be overflowing with Scales after a few hunts and if you enjoy getting involved with Wyvern Riding – why wouldn’t you – then you’ll also tend to find plenty of Pelts. The Electrode is the real problem here, since it requires breaking the head of a Tobi-Kadachi in order to significantly increase your chances. Such things wouldn’t necessarily be too difficult were it not for the damned beast enjoying slamming anything directly in front of it with that massive tail. Patience will be your friend here. Also blocking, lots of blocking…
Advertisement

Diablos Gunlance
Rise is thankfully filled with some fantastic Gunlance options, of which we can only commit so much space, so whilst we encourage you to go ahead and experiment our final recommendation falls to an old favourite: Diablos Gunlance. This is actually relatively controversial, since you’re unlikely to find too many recommendations for this particular model, but stick with us here. You will of course have to take down the huge horned beast on more than a few occasions, and we’re aware that the nerf bat has been taken to more than just a couple of it’s resultant pieces of equipment, but we found this Gunlance to be more than capable of dishing out punishment. Anyone familiar with the items crafted from the parts of a Diablos will no doubt be familiar with exactly what you’re getting here, after all it hasn’t really changed since the monster’s inception, but such things make it ideal for us here.
The first thing you’re likely to notice with this model is the high raw damage. Such things are a regular occurence with the Diablos equipment and the Gunlance is no different. Not unlike that of the Tigrex, it’s equipment is almost always offset by a negative level of Affinity, 10% in this case. Things do start to differ from the norm a little in Rise, because you’d normally have to contend with dismal levels of sharpness too, however this is not the case here, not for the early game at least. To cap things all off it also comes with level 3 shells, which is the highest available in Low Rank, and it features the Wide type of shells, which lends themselves fully to the ‘poke and smoke’ technique – we noted this in our prior choice, however this particular model is much more suited to it since each shell will deal more significant damage and there are less of them, meaning a full burst is much less worthwhile.
Early Features
- Very high raw damage, ideally suited for poke damage, which Wide type of shells is well suited to.
- Good level of green sharpness which is very good for the early game, though it’s worth noting that this particular model will never scale higher than green in the late game.
- 10% Negative Affinity can easily be cancelled out with equipment, and this also does not influence the damage of shells.
Crafting Requirements
- Striker’s Gunlance
- Diablos Tailcase x 2
- Diablos Ridge x 4
- Diablos Fang x 3
Things aren’t too bad here. Captures, carves and indeed regular rewards should get you plenty of both the Ridges and the Fangs, but it’s the Tailcase that might provide a little more annoying to collect. As you might imagine carving the tail is by far the best way to get your hands on them, but this can be a little more troublesome than usual, especially if you keep facing larger examples of the beast – that extra height can make it a pain to get regular hits on the tail!

More Monster Hunter Rise…
Should Siege Hunts Return In Sunbreak? | Monster Hunter Rise
A long time staple of the series, siege hunts see one or more hunters take on mammoth opponents, often ludicrous in size and shape, whilst occupying massive, multi-tiered arenas. These have seemingly been usurped in Monster Hunter Rise, where they have instead opted for Rampages, and whilst these function in a somewhat similar fashion, they…
Our Sunbreak Monster Wishlist | Monster Hunter Rise
The sun will soon rise on the expansion for Monster Hunter Rise, Sunbreak. Having lived through far too many expansions and ultimate versions of games in this series, we’re all too aware of what these entail; greater challenges, new tiers of equipment and most importantly, more monsters. It’s this latter point in particular that interests…
Difficult Low Rank Monsters & How To Defeat Them | Monster Hunter Rise
Pushing your way through Low Rank can be tremendously difficult for those new to the Monster Hunter series. All of your friends are likely off fighting the latest version of a cataclysm approaching a small village, and yet here you are still struggling to get off the ground against base level opponents. Worse still, your…
Something went wrong. Please refresh the page and/or try again.
Categories: Monster Hunter Rise, Top 5